Sunday 6 November 2011

Module One. Chapter Three.

A long gap since my last post due to work commitments and holidays but I have been quite productive. The early lessons are well embedded as I was even photographing cross shapes in Central Park!
Just some of the cross shapes spotted during our recent trip to the USA.


Design Development
Design Sheet A
These exercises have been very useful, some have been quite straightforward, (counterchange, positive/negative/symmetry), others I have found more difficult - asymmetry and distortion.
I was quite surprised at how much I struggled with producing an asymmetrical shape and distorted shapes from some of my chosen cross shapes. I do think though that this struggle has given me a better understanding of how to do this and that I am much better working with scanned shapes in Photoshop than manually with drawn shapes.

The cross shape I have chosen produces a very good positive/negative shape; not only is the central negative space interesting but the arms of the cross produce an almost octagonal shape around this negative space.


This creates an interesting repeating pattern.

 Design Sheet B
I am particularly pleased with the repeating distorted cross - the negative shape created in the center is a cross too.


It has been useful to use the same cross shape for several of the exercises as it demonstrates the potential for creating a number of designs from a single shape. However following the 'what if' possibilities can be very time consuming!

I think my border of linked shapes is too confusing, the smaller shape is too complex and doesn't link well in the center. The simpler shape is an enlarged and simplified version of the shape used in (v) above, although I like both these shapes they don't really combine well together.


The new shape from old has worked very well as both the positive and negative shapes produced have retained useful portions from the old image.
Adding background lines is useful for visualizing how stitched lines can be used to both embed and lead the eye around a shape combination.

Tuesday 9 August 2011

Module One. Chapter Two.

Spent a lovely sunny day making decorated papers and hanging them on the line to dry much to the amusement of the neighbours!
As well as sponging the colour onto the paper I did some with a light 'scrubbing' action and others by using acrylic paint with 'cling film' pressed on the surface and peeled off when dry.
I chose the red/violet/purple and yellow/lime/green areas of the colour wheel, I particularly like the contrast of the lime and violet colours.

1. Painted cartridge paper.
2. A selection of painted tissue paper using recycled tissue paper packaging, some with a surface decoration.


3. I didn't have any erasers to hand so I used some polystyrene packaging to make a stamp - this is quite large so I have used A2 sheets of paper.

4. I like the cross shape created by this 1/4 rotation of the stamp each time.

5. The distressed effect created by stamping until the paint runs out adds texture to the design - this is one where a smaller stamp would give a much clearer impression of this effect

6. I particularly like the diagonal repeat pattern at the bottom of this image.

I will produce some more stamped papers using a smaller stamp. I think it is possible to get an idea of how each repeating pattern looks but this would be much clearer with a smaller pattern in some instances.

Module One. Chapter One - Colour Wheel

Quite a revelation using 2 different red, yellow and blue shades to create the colour wheel, I found it very useful to make the shade cards shown below to help recreate the same colour again.

1. Shade Card


2. Colour Wheel
This was my 3rd attempt at the colour wheel, the first was discarded because several of the colours were quite 'muddy' and the 2nd had some heavy handed outer wheel segments - this taught me not to take short cuts but to always check the shade on a scrap piece of paper!

Monday 18 July 2011

Module One. Chapter One

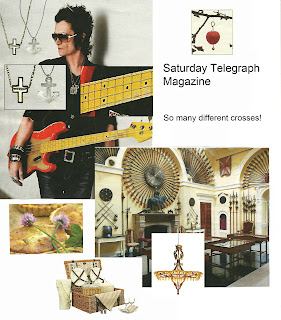
I have chosen crosses as my theme. Here are the results of my research.

1


2


3


4


5


6


7


8


9


10


11


12


13