Sunday 2 September 2012

Module Two. Chapter Six.


Patterning of Fabrics – Shibori Methods Using Dyes

I chose two weights of white cotton to use for these techniques, most of my samples use the lighter of the two weights simply because this was easier to work with.

I used Dylon ‘Velvet Black’ cold water dye; half a pack (25g) mixed with 1.5 litres of water. The pack only instructed the addition of salt but I also added the soda and used the ratio suggested in the course materials. Many of my samples dried with stiff, chalky areas, these washed out but I wondered if this was because the soda solution was unnecessary or perhaps I didn’t dissolve the solutions sufficiently.

When mixing up the dye solution it appeared a deep indigo blue and I was very wary, especially having spent hours tying and preparing my fabrics. There was no need to worry though, the untied pieces of fabric that were left to soak overnight are a beautifully deep black!

The appearance of the dye solution did make the decision about how long to immerse the different pieces of fabric very difficult. I didn’t want to end up with fabrics that were all pale grey but nor did I want to risk immersing fabrics for too long and therefore lose all the patterning. I was very lucky, I have quite a good range of tones and some lovely patterns.

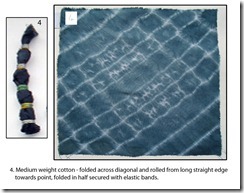
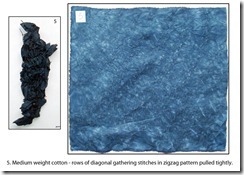
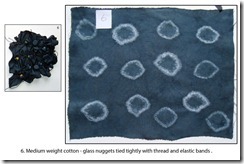
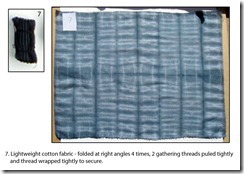
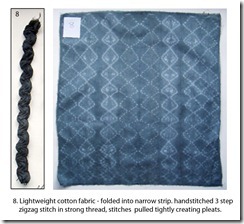
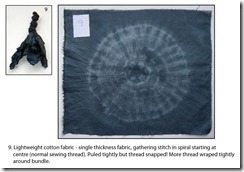
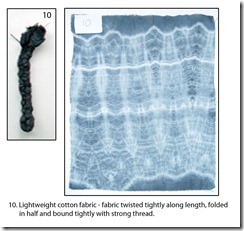
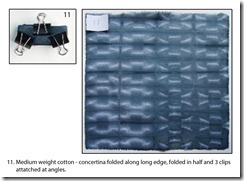
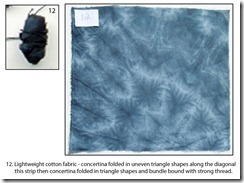
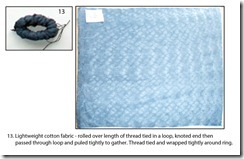
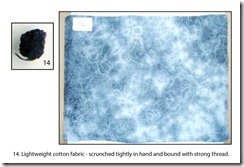
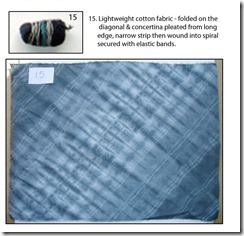
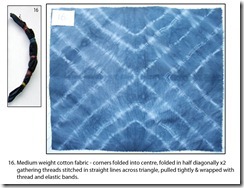
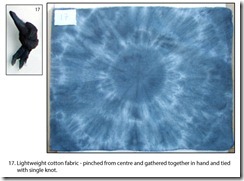
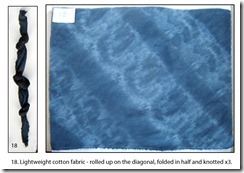
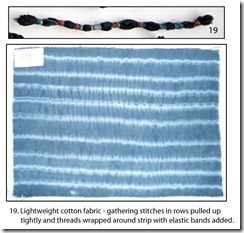
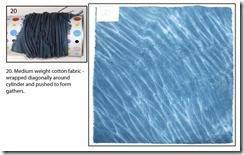
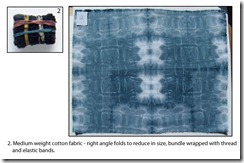
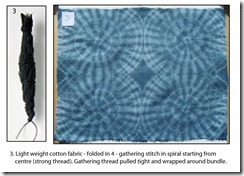
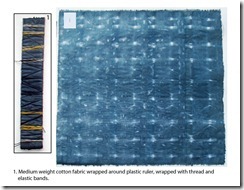
These are the images of my samples – each is numbered and has the tied/wrapped fabric alongside. I meant to photograph the fabric before dying but forgot but I think the tying techniques show up quite clearly – hopefully I can recreate some of them as I would like to try to achieve some darker pieces with a greater contrast in the patterning.

I have tried each of the techniques – tie and dye; tritik shibori and arashi shibori as well using a combination of the techniques.
Sample 1

Sample 2Sample 3This spiral stitching technique is very effective but pulling up the thread is hard work!

Sample 4Sample 5

Sample 6Sample 7

Sample 8Sample 9

Sample 10Sample 11

Sample 12Sample 13

Sample 14Sample 15

Sample 16Sample 17

Sample 18Sample 19

Sample 20

The image below shows all my tied and dyed fabrics with the plain black dyed pieces – this shows the range of tones achieved.

I haven’t completed the monoprinted fabrics yet, these will follow.
Module two. Chapter Five.
 

Patterned Papers

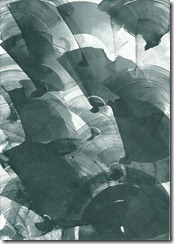
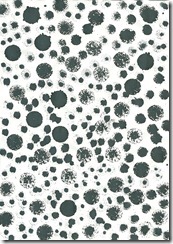
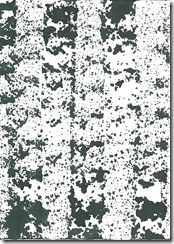
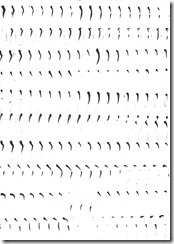
Monoprinting is a technique I haven’t tried before, I was very pleased with the results. I liked the fact that the results were not totally predictable, making a second print when less of the ink was on the glass has also given a pleasing range of tones in my patterned papers.

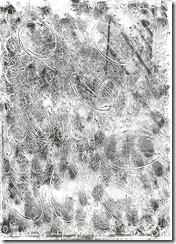
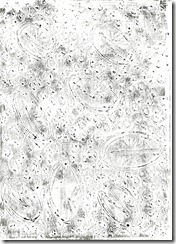
These first samples were created with ink using various ‘tools’ to make the marks.

patterned papers0002Sponged ink using scrunched paper.

patterned papers0003   Cardboard tube dipped in ink.

patterned papers0004Edge of plastic card and tip of spatula.

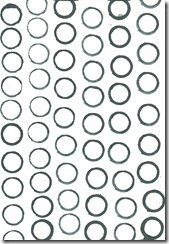
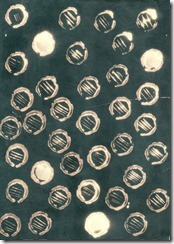
patterned papers0001Edge of plastic card twisted in circular movement.

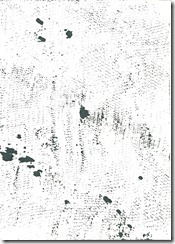
patterned papers0005 Sponge applicators of different sizes.

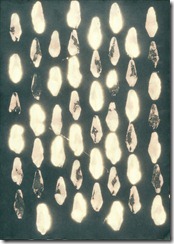
patterned papers0007Polystyrene packaging cut into block, stamped.

patterned papers0021Marbling comb

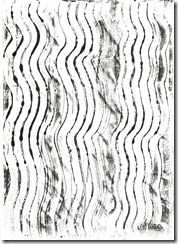
These next samples are monoprints using printing ink.

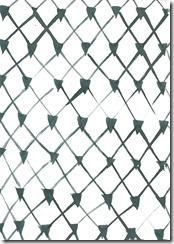
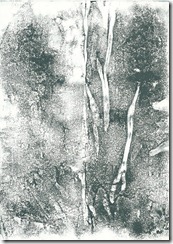
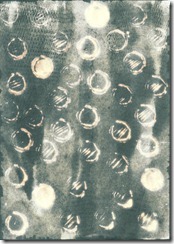
patterned papers0006Net ‘sponge’ torn into strips and laid on glass.

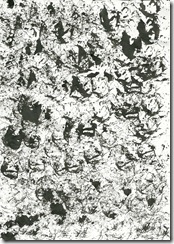
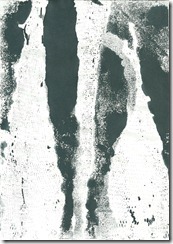
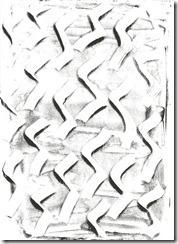
patterned papers0008 This sample taken straight from the glass to remove excess ink before cleaning – I think it is reminiscent of the creases found in the hide of animals such as elephants – a happy accident!

patterned papers0009Another attempt with the net ‘sponge’ this time stretched over the entire glass.

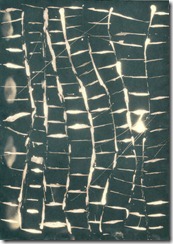
patterned papers0010There is a pattern taken from a sketch of alligator skin scratched into the ink with the end of a paint brush. I think my ink was too thick as the pattern is barely visible but I do like the black markings created when I rubbed the back of the paper.

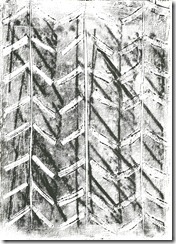
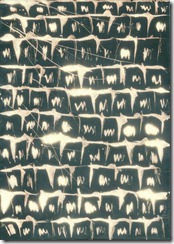
patterned papers0011 A piece of thick card with small serrations cut into the edge.

patterned papers0012Strip of thick card, corner and edge used to create pattern.

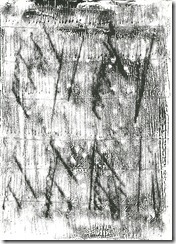
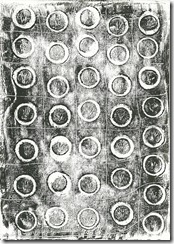
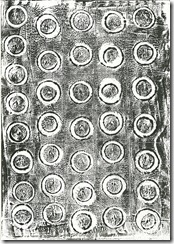
patterned papers0013 End of cardboard tube with grid created with corner of plastic card.

patterned papers0014Second print.

patterned papers0016Pattern scratched into ink with tip of spatula.

patterned papers0015Second print this time slightly better.

patterned papers0017Marbling comb used to scratch design in Gouache instead of printing ink.

patterned papers0019Glue spreader – Gouache paint.

patterned papers0018Second print.

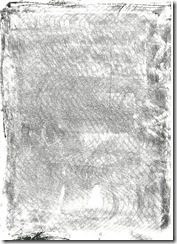
These next samples are made using bleach on paper painted with black dye.

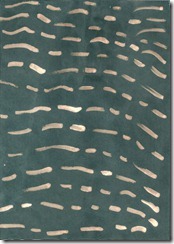
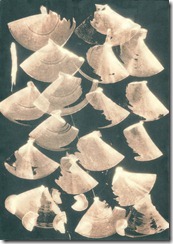
Bleach Paper samples0004End of cardboard tube and edge of plastic card.

Bleach Paper samples0007Reverse of above sample – I noticed the back when scanning these pages, some of the papers are more interesting on the back!

Bleach Paper samples0003Drawn with a glue spreader.

Bleach Paper samples0002Drawn with edge of plastic card.

Bleach Paper samples0001Printed with head of a spatula.

Bleach Paper samples0005Cotton bud.

Bleach Paper samples0008Plastic card twisted in circular movement.

Module Two. Chapter Four.


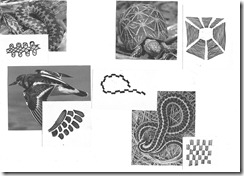
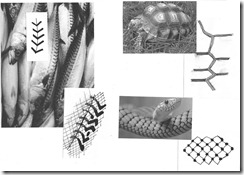
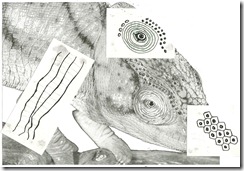
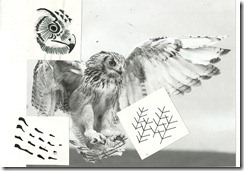
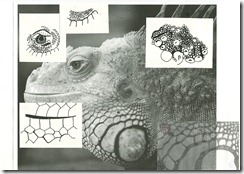
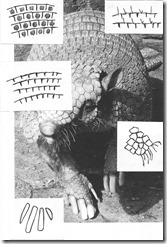
Drawing Patterns from Animal Markings.

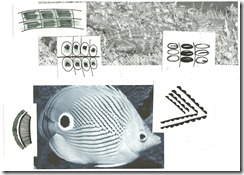
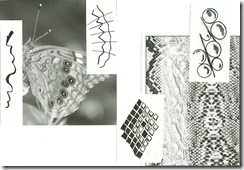
I should declare that drawing scares me! This chapter has given me much more confidence as I have spent quite a lot of time on these little sketches!

My difficulty is thinking I have to produce perfect representations, as I began to focus on the line patterns rather than the image as a whole I became more relaxed and a lot looser.

I can’t say that I am completely happy with the samples I have produced; the drawing was a good starting point though as when I produced my dyed fabric samples I could see how some of them related back to my drawings. In other samples I saw markings that led me back to find images and produce drawing samples so it has been quite a cyclical process.

patterned papers0022 

patterned papers0025

patterned papers0026patterned papers0027

patterned papers0028

patterned papers0024

patterned papers0029

patterned papers0023